Overview
This lesson is designed to be run on a personal computer. All of the software and data used in this lesson are freely available online, and instructions on how to obtain them are provided below.
Install Python
In this lesson, we will be using Python 3 with some of its most popular scientific libraries. Make sure you install Python following the instructions on the course website.
Obtain lesson materials
- Download exercises.zip
- Move downloaded files to
~/course/. - Unzip the files.
You should see two folders called data and code in the newly created exercises directory in
your directory.
Launch Python interface
To start working with Python, we need to launch a program that will interpret and execute our Python commands. Below we list several options. If you don’t have a preference, proceed with the top option in the list that is available on your machine. Otherwise, you may use any interface you like.
Option A: Jupyter Notebook
A Jupyter Notebook provides a browser-based interface for working with Python.
Command line (Terminal)
1. Navigate to the
datadirectory:Unix shell
If you’re using a Unix shell application, such as Terminal app in macOS, Console or Terminal in Linux, or WSL on Windows, execute the following command:
cd ~/course/exercises/data2. Start Jupyter server
Unix shell
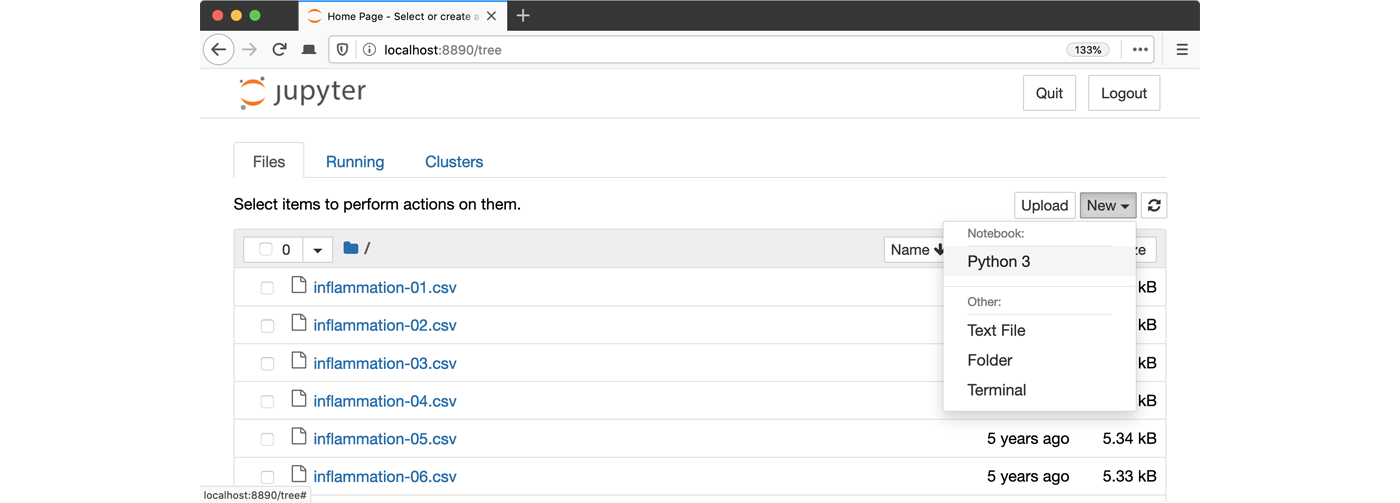
jupyter lab3. Launch the notebook by clicking on the “New” button on the right and selecting “Python 3” from the drop-down menu:
Option B: Visual Studio Code
Visual Studio Code (or VS Code) is a powerful integrated development environment (IDE) that also supports writing Python code and running Jupyter Notebooks.
Command line (Terminal)
1. Navigate to the
datadirectory:Unix shell
If you’re using a Unix shell application, such as Terminal app in macOS, Console or Terminal in Linux, or WSL on Windows, execute the following command:
cd ~/course/exercises/data2. Start VS Code
Unix shell
code .